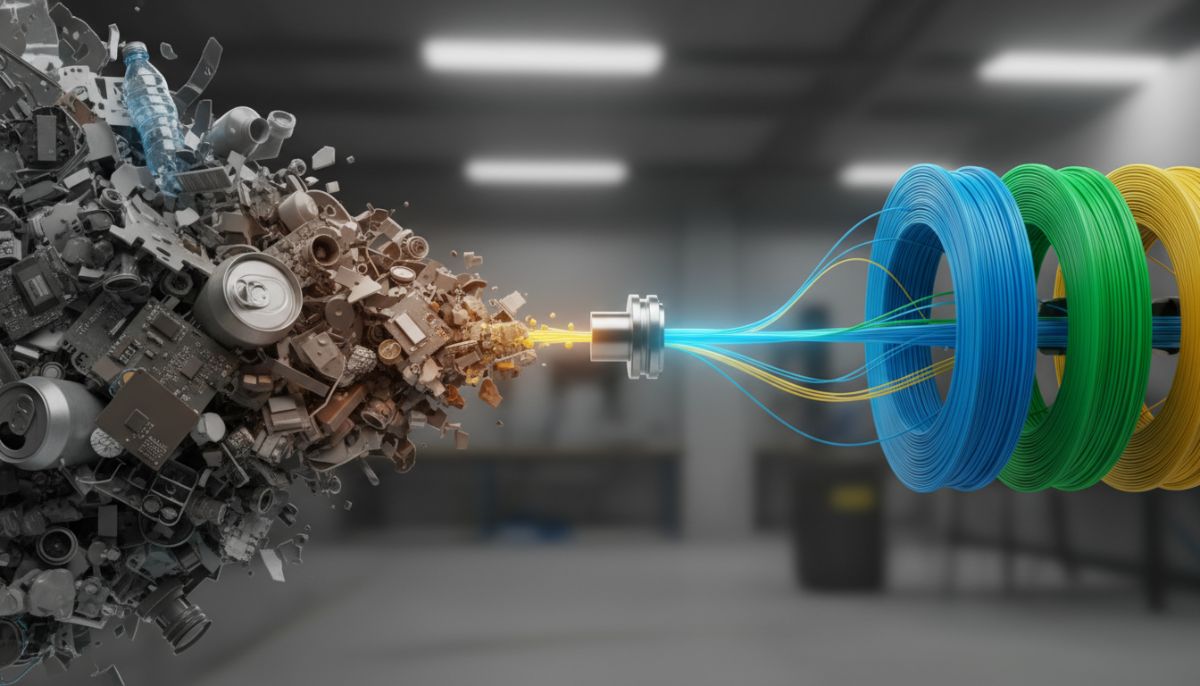
If you run a print farm or just tinker heavily, you have a bin of shame. It’s full of purge blocks, spaghetti strings, and structurally compromised benchys. We’ve been asking for a desktop-scale way to recycle this stuff for years without resorting to industrial hoppers that cost as much as a car.
Enter the Creality Filament Maker M1 and Shredder R1, a two-unit ecosystem that recently exploded on Indiegogo, hitting its €86,000 funding goal in just 16 minutes and raking in over €4.6 million shortly after. The promise is massive: grind up your waste, mix it with virgin pellets, and extrude perfectly toleranced custom filament right on your desk.
But as with any crowdfunding hardware, the marketing gloss needs to be peeled back. Let’s break down the specs, the workflow friction, and whether this actually makes sense for your setup.
The Hardware Specs: M1 vs. R1
Rather than a single, jam-prone magic box, Creality split the workflow into two distinct machines. The R1 handles the brute force, while the M1 handles the precision.
| Spec/Feature | Shredder R1 | Filament Maker M1 |
|---|---|---|
| Core Function | Integrated shredding & drying | Heating, extruding, cooling & spooling |
| Input/Output Size | Max 2cm chunks in → ≤4mm granules out | Pellets in → 1.75mm filament out |
| Throughput | Handled continuously (Dry-Crush) | Up to 1 kg/h (with 100% virgin PLA) |
| Tolerances | N/A | ±0.05 mm (1.70–1.80 mm variance) |
| Supported Materials | PLA, PETG, ABS, TPU, etc. | PLA, ABS, PETG, ASA, PA, PC, TPU, PET |
| Max Temp | Internal heating for drying | Extrudes at up to 350°C |
Pro-Tip: The R1 operates on a Hybrid Dry-Crush system. Most shredders create pellets you then need to bake in a separate dehydrator. The R1 handles both simultaneously, feeding clean, dry pellets directly into your workflow.
The Real Workflow (It’s Not Plug-and-Play)
Creating consistent, dimensional filament takes technique. You don’t just dump a bucket of failed prints into the hopper and hit “Start”. The community sentiment over on Reddit already highlighted a harsh reality: The shredder only accepts small pieces.
- Pre-Processing: You have to pre-cut large purge towers and bulky failed prints down to roughly 2cm chunks before the R1 can ingest them.
- Granulation: Feed the chunks into the R1. It breaks them down into uniform ≤4mm particles.
- Formulation: This is the crucial step. You cannot reliably use 100% recycled waste. Creality officially states: “For M1, different ratios of recycled and virgin material result in varying levels of precision and throughput.”
- Extrusion: The M1 takes your blend through multi-zone temperature control, extrudes it, actively cools it, and auto-spools it onto an empty reel.
“The M1 packs a complete filament production line into a 15 kg desktop unit. Extrusion, active cooling, precision pulling, and automatic spooling all happen inside one machine measuring 555 x 245 x 570 mm.” — Creality Indiegogo Campaign
The Economics: Does it Pay for Itself?
At roughly €1,068 (or $1,199 standard bundle pricing) for the complete setup, buying this solely to save money on basic $15 PLA spools is a terrible financial decision. Let’s run the math:
# ROI Calculation for M1/R1 Bundle
bundle_cost_eur = 1068
cost_per_kg_recycled = 5  # Estimated cost of virgin pellet mix + electricity
cost_per_kg_commercial = 15
savings_per_kg = cost_per_kg_commercial - cost_per_kg_recycled

payback_spools = bundle_cost_eur / savings_per_kg
print(f"Spools needed to break even: {payback_spools} kg")
# Output: Spools needed to break even: 106.8 kg
You would need to extrude and successfully print over 100 kg of waste-blend filament just to break even on the hardware. For the casual maker, the opportunity cost is glaring: for €1,000, you could buy a highly capable multi-color coreXY machine that minimizes purge waste in the first place.
The Real Killer Feature: Customization
If you view the M1/R1 as a pure recycler, you’re missing the point. It is a Filament Synthesizer.
By mixing masterbatch color pellets with virgin PLA, you can match specific hex codes for corporate clients. But it goes deeper than color:
- Scented Filaments: Creality actively suggests adding coffee grounds, lavender, or rose petal powder to the recipe.
- Tactile Blends: Toss in walnut shell powder or fine wood dust for organic grain patterns.
- Structural Tweaks: Add carbon fiber or glass fiber additives to virgin pellets to create custom engineering materials.
As the campaign aptly puts it:
“Every spool becomes a personal formula, shattering the boundaries of off-the-shelf filament and transforming each print into a sensory experience.”
The Verdict
The Creality M1 & R1 ecosystem is not for the beginner who just wants to click “Print”. It requires pre-processing, recipe tuning, and firmware tinkering (yes, the M1 supports OTA firmware updates for new material profiles).
However, if you operate a design studio, run a mid-sized print farm, or frequently accept custom commercial orders requiring precise brand-color matching, this system pulls a critical supply-chain bottleneck right onto your desk. It shifts filament from being a consumable supply to an internal capability.
Are you backing the M1/R1 on Indiegogo, or are you waiting for the retail release once the early adopters work out the inevitable first-generation kinks? Drop your thoughts in the comments or ping me your custom filament recipes. Let’s see what we can synthesize.